In SharePoint, a list view is created to have a different presentation of an already created list and a set of columns. You can create multiple views with a different set of permutations and combinations to help users see what exactly they need instead of showing them the entire list every time.
What Is SharePoint list view?
Definition: Using a view, you can see a set of items from a list or library in a particular order or you can see only a few filtered rows from all the rows.
Let’s say you have a large list having 1000 records, but you want to see only the top 25 records that were created in the last 2 days. So, for that and that kind of many requirements, you create views.
How to create a SharePoint list view?
- Go to SharePoint list or library settings.
- Scroll down to the bottom of the page in the Views section.
- You will see a default view – All Items if no one has created any view.
- Click on Create view.
- You will see 4 types of views. We will go through them in detail but for now, let’s click on Standard View.
- Now there are lots of settings on this page. We will try to cover as much as possible.
- Name: Give a name for this view of the list. You should give a proper name so that the end-user will understand what records to expect when they click on the view like - TopfiverecordsView.
- Make this the default view: You make the view default so that when the end-user clicks on the list-link, this view will open. The only public view can be set as default and in one list there can be only one default view (obviously).

- Audience: the option to select whether the view is public or Personal. The personal view will not be visible to everyone, it is only for your (View creator’s) reference.

- Columns: Select all the columns by ticking them from the list. You can also decide their order in the view from left to right.

- Sort: You can select up to 2 levels of sorting in the view. As shown in the screenshot, you can first sort by one column (Ascending or Descending), and in the same way, you can do that for the second column.
- Sort only by specified criteria (folders may not appear before items). – If you do not tick this box, then by default all the folders in the view will come first and then all the items will be displayed in the specified sort order else the sorting will apply to all the items as well as folders.

- Filter: You can either show all the items from the list or you can apply multiple filters here and only the filtered records will be displayed to the end-user.

- Tabular View: Choose whether individual checkboxes for each row should be provided. These checkboxes allow users to select multiple list items to perform bulk operations.

- Group By: You can apply Group by on the view 2 times. First will be the main group and if you select 2nd, it will be sub-group.
- By default, show grouping: Select if you want the items in the group in Collapsed manner when the page loads or Expanded.
- The number of groups to display per page: enter the number of groups that you want to display per page.

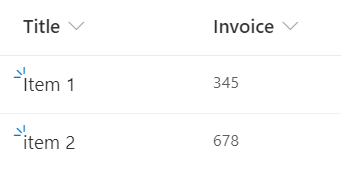
- Totals: for the columns in the view, you can apply any of this Total (Formula). For example, in the below screenshot, Invoice is the Numeric column, so you can apply any of the formulas listed in the dropdown. Let’s say Maximum, so it will calculate the maximum value of the Invoice records in the view and it will display it on the top of the Invoice column in the view.

- Style: Choose a style for this view from the list on the right.

- Folders: Specify whether to navigate through folders to view items, or to view all items at once.
- Folders or Flat: select if you want folder structure or you want all the items (from folders also) to display without folders in the view.
- Show this view: From a navigation perspective, select whether you want this view link in all the folders, only in the top-level folder or in a folder of a specific content type.

- Item Limit: Specify the number of rows to display in the view. From the two choices below, decide if you want to return rows in the batch of 30 Items (First option) or you want to return only 30 items (Second option).

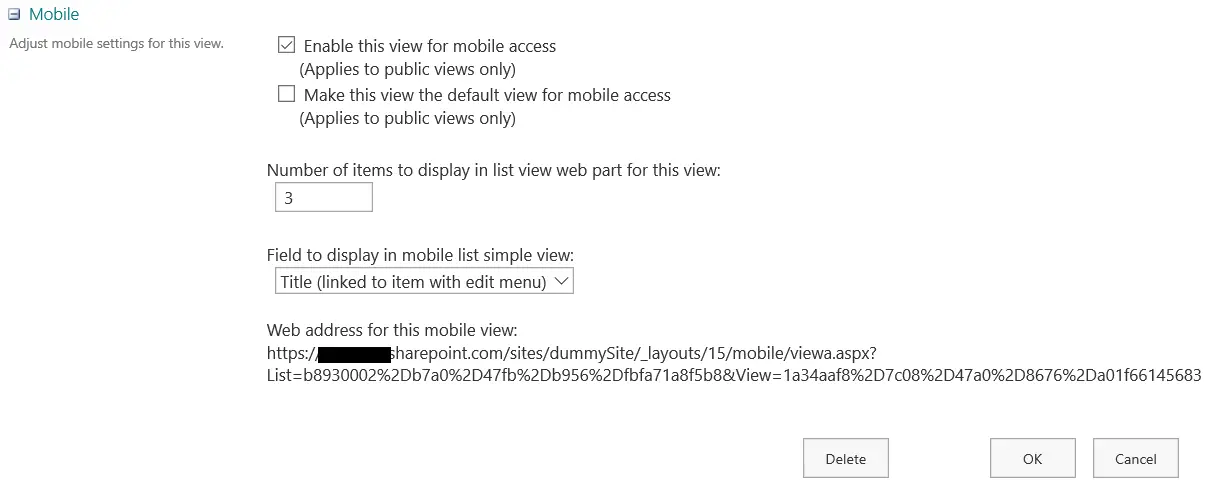
- Mobile: You can setup configuration for Mobile View here.

SharePoint List View types
There are 4 types of views in SharePoint.

- Standard View: It is the view we just saw in the above section. It is basic and widely used in most projects.

- Datasheet View: When you want to edit data in bulk, you can use this view. It looks like an editable spreadsheet to the end-user and it is very convenient for bulk updating.

- Calendar View: When you are working mostly on date-time columns and you want to display the data on a daily, weekly, or monthly basis then Calendar view is the perfect choice for you.

- Gantt View: This type of view is very helpful in the task list when you are checking the progress of the individual’s allocated task. It comes with a nice presentation of data in graphical.
